I make a commission from purchases made through links in my posts, at no extra cost to you. Read my disclosure for more information.
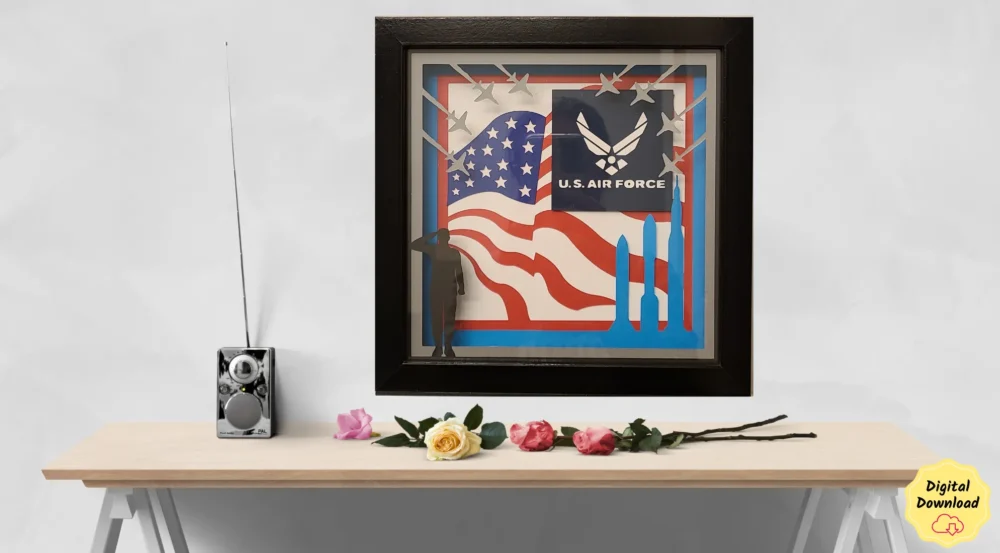
I will show you how to make a layered Air Force shadow box with lights added to the interior frame. This is a quick and easy craft you can do in a few hours in the afternoon or on the weekend! This lighted layered Air Force shadow box is a unique gift idea too. Here you can see the completed 8 x 8 shadow box but you can change the design to also fit a 12 x 12 shadow box frame.
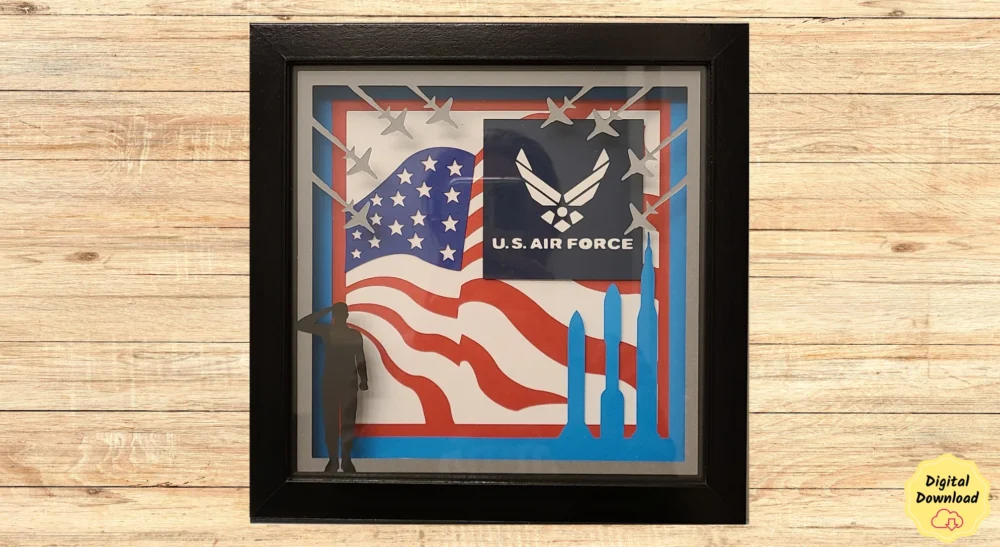
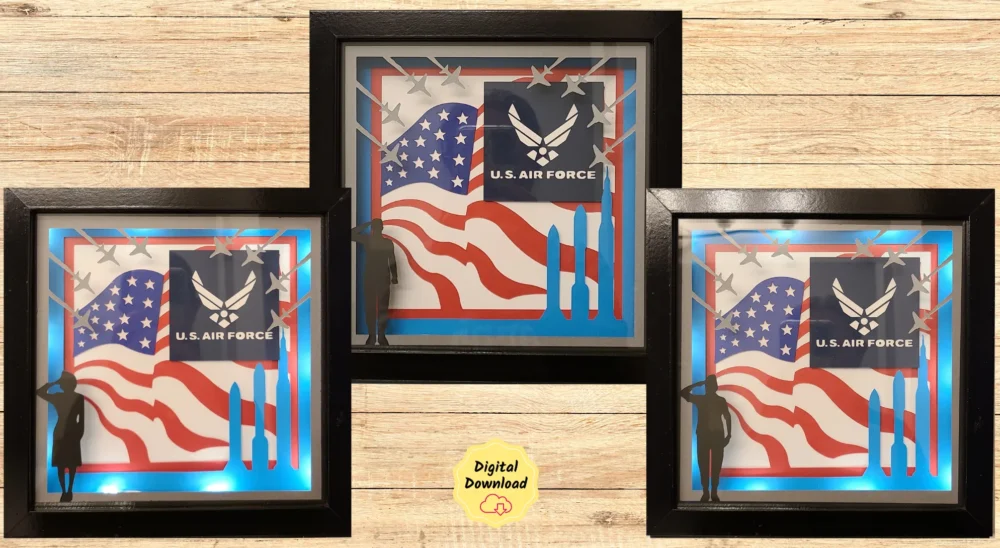
I was inspired to make this design by my family and friends that are / or currently serving in the armed forces. They all serve in different branches of the military. This Air Force shadow box was designed in honor of my friend, who served in the Air Force. It features a saluting airman, fighter jets, missiles, and the American flag in the background.
What You Will Need To Make A Layered Shadow Box with Lights
To make this shadow box you will need to collect the supplies:
Links to Amazon
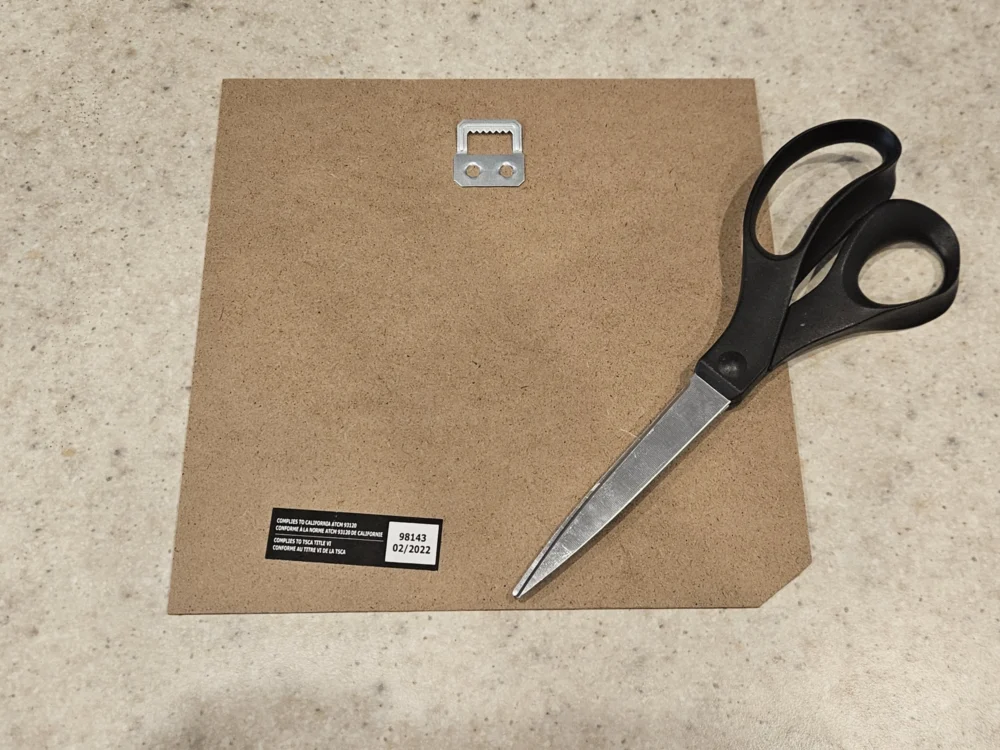
A shadow box picture frame
Recollections cardstock (This is the brand I use for my layered shadow box designs.)
Acid free adhesive foam
Your Cricut Machine Don’t have a Cricut? Check out this buyer’s guide to find the right Cricut machine for you!
Ribbon craft lights
Shadow box SVG design file
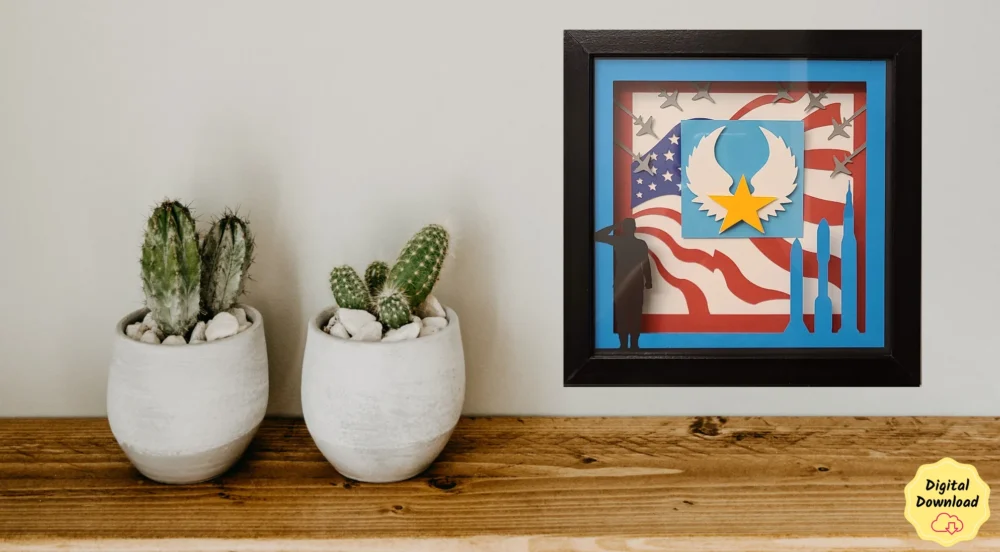
Both emblem designs are included in the SVG design file.
How To Make a Layered Air Force Shadow Box with Lights
- Download the shadow SVG design file to your computer.
- Open Cricut Design Space on your computer.
- Upload the shadow box SVG design file into your Cricut Design Space.
- Check the size of the design to make sure it will fit your shadow box frame. 7.99 x 7.99 design size for 8 x 8 shadow box and 11.99 x 11.99 design size for a 12 x 12 shadow box. Always double-check by measuring the inside of the shadow box before cutting the design with your Cricut.
- Cut out your layers with your Cricut machine.
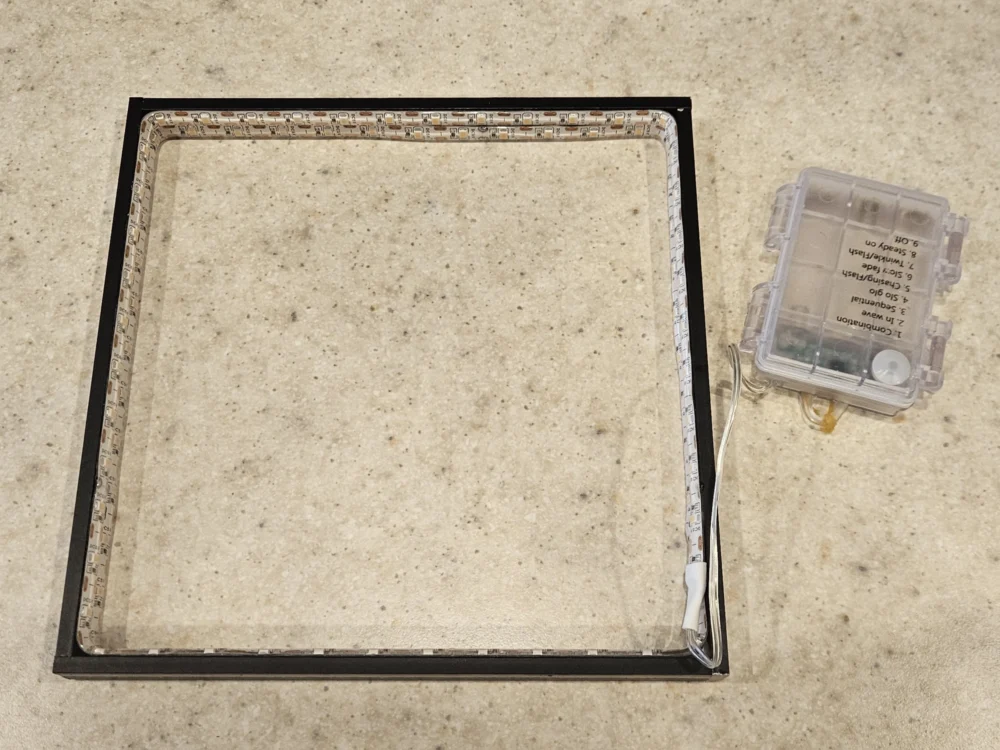
- Attach your lights to the inner box frame of the shadow box by removing a small amount of the adhesive protective backing starting at the end closed to the power supply or battery pack.
- Press the adhesive end starting at a corner and work your way around the frame.
- Cut one of the lower corners off the backing of the frame to make space for the wire to come out the back of the frame.
How to layered a shadow box with lights video.
- Place the first 2 layers of cut paper in the shadow box.
- Put the inner box frame with the attached lights in the shadow box. Make sure the the power supply or battery pack is at the bottom.
- Put the next layer of paper in the shadow box.
- Put foam dots the back of the paper layer for areas you want to pop out to give design move visual depth in the shadow box.
- Repeat the same process with the next paper layer and foam.
- Attach the blue paper with the stars cut out of it to the red flag paper layer. Make sure the are stars line up.
- Put the flag layer of paper in the shadow box.
- Put the white layer of paper in the shadow box.
- Put the shadow box backing on the shadow box and press down the metal tabs to secure it.
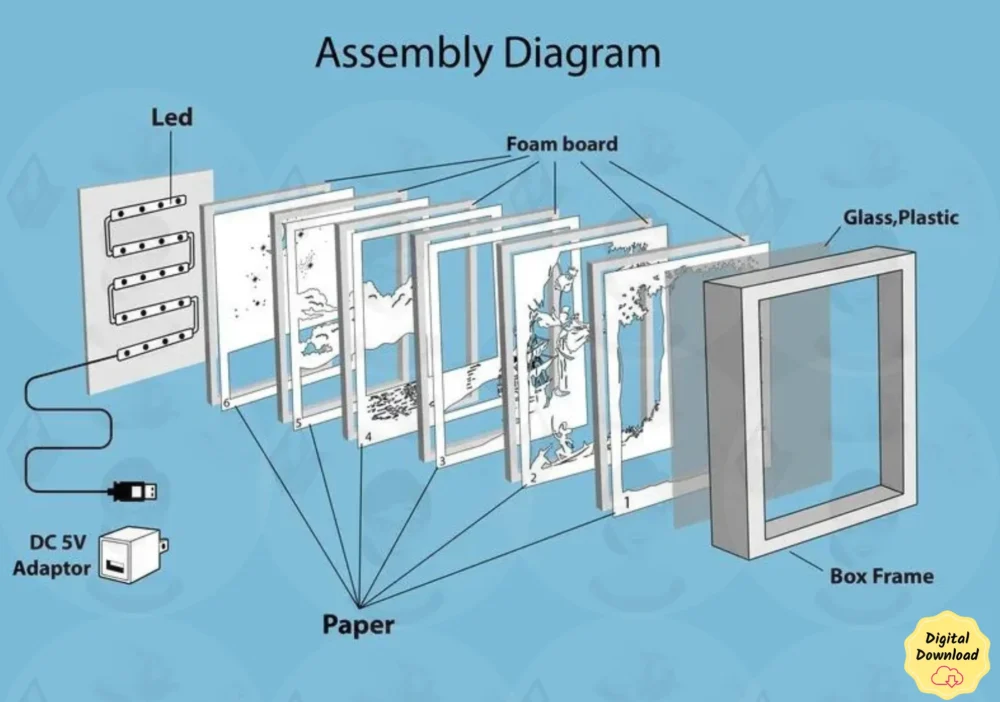
If you want to backlight the shadow box design then this example layout diagram will help you put it together.
Here are some other design I have made that you might be interested in. I have one for each of the branches of services. Here are the links to each of these how to posts.
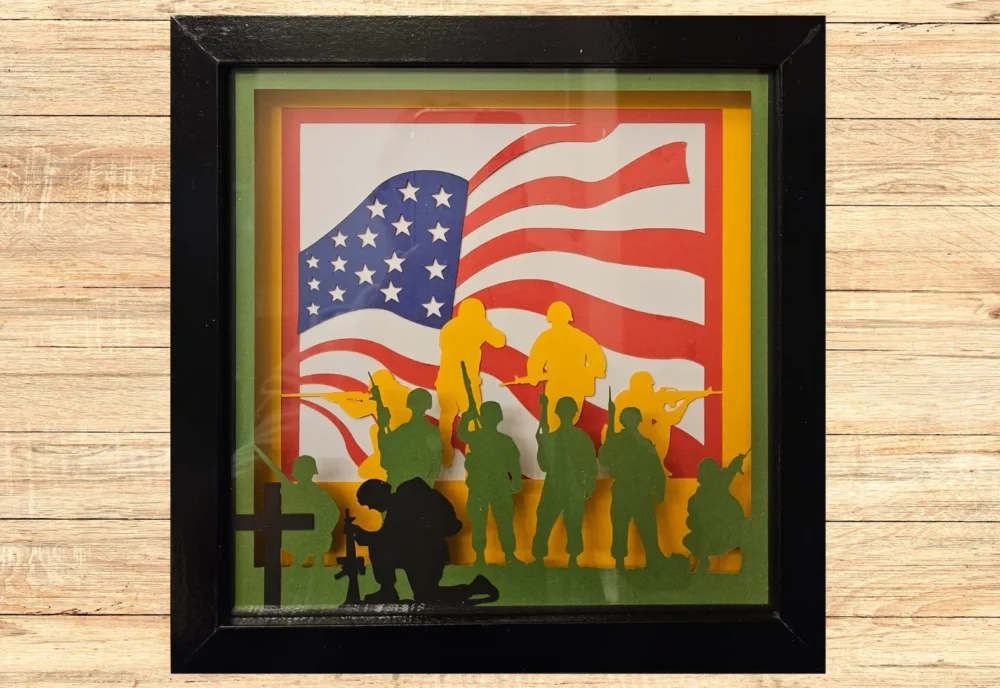
Soldiers and Cross shadow box with lights how to post
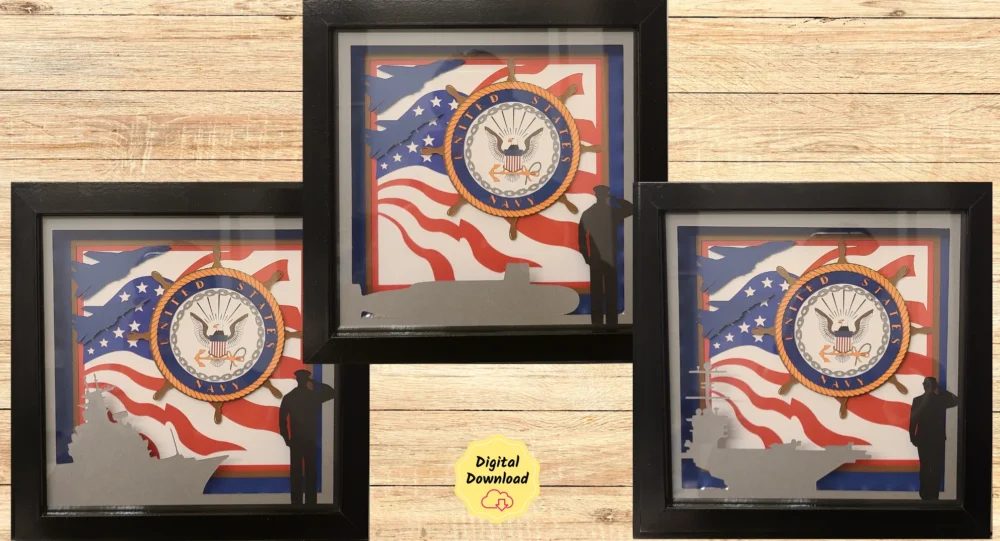
Navy Aircraft Carrier shadow box how to post
Navy Aircraft Carrier shadow box (Female Sailor) how to post
Navy Destroyer shadow box how to post
Navy Destroyer shadow box (Female Sailor) how to post
Navy Submarine shadow box how to post
Navy Submarines shadow box (Female Sailor) how to post
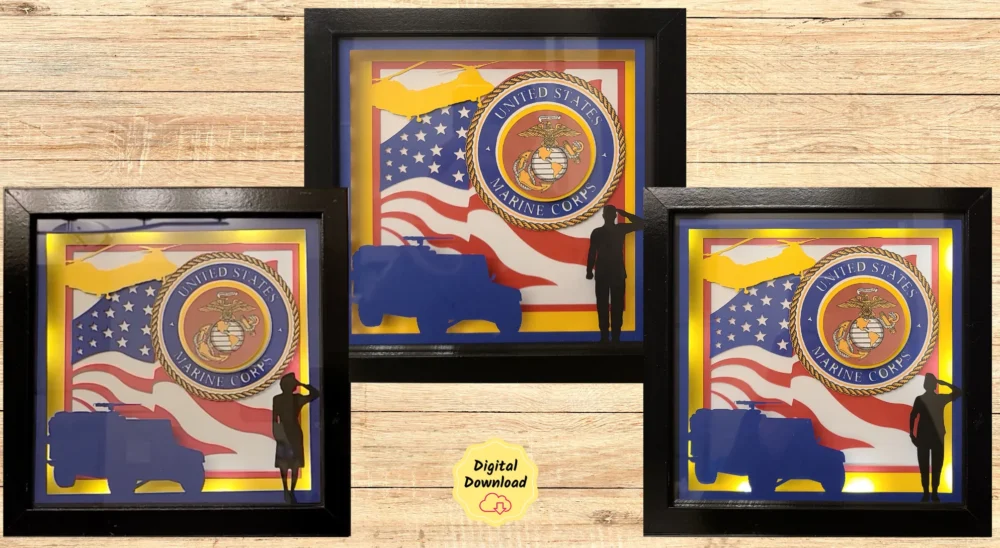
Female Marine shadow box how to post
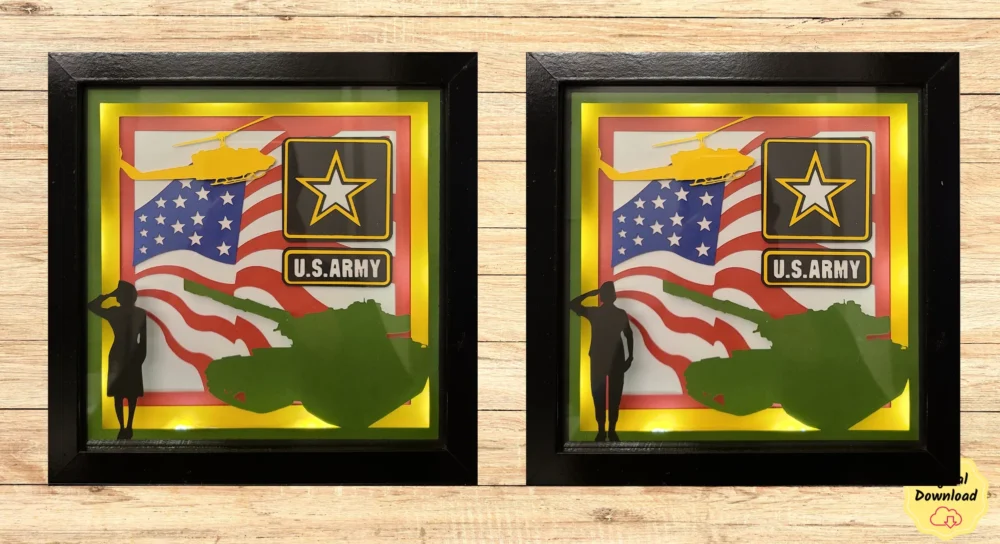
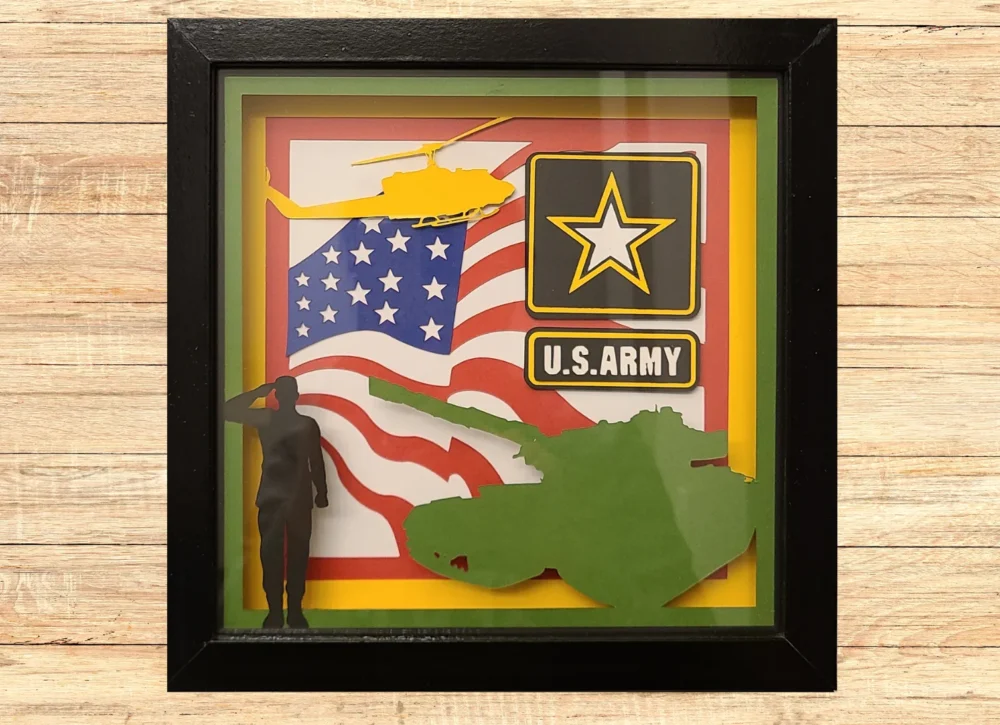
Female Army shadow box how to post
Air Force shadow box how to post
Female Air Force shadow box how to post
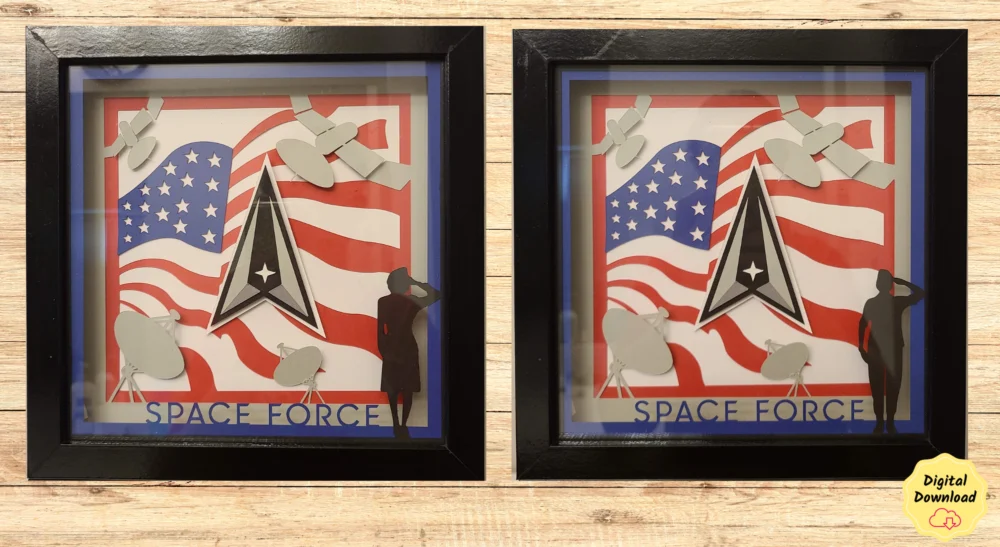
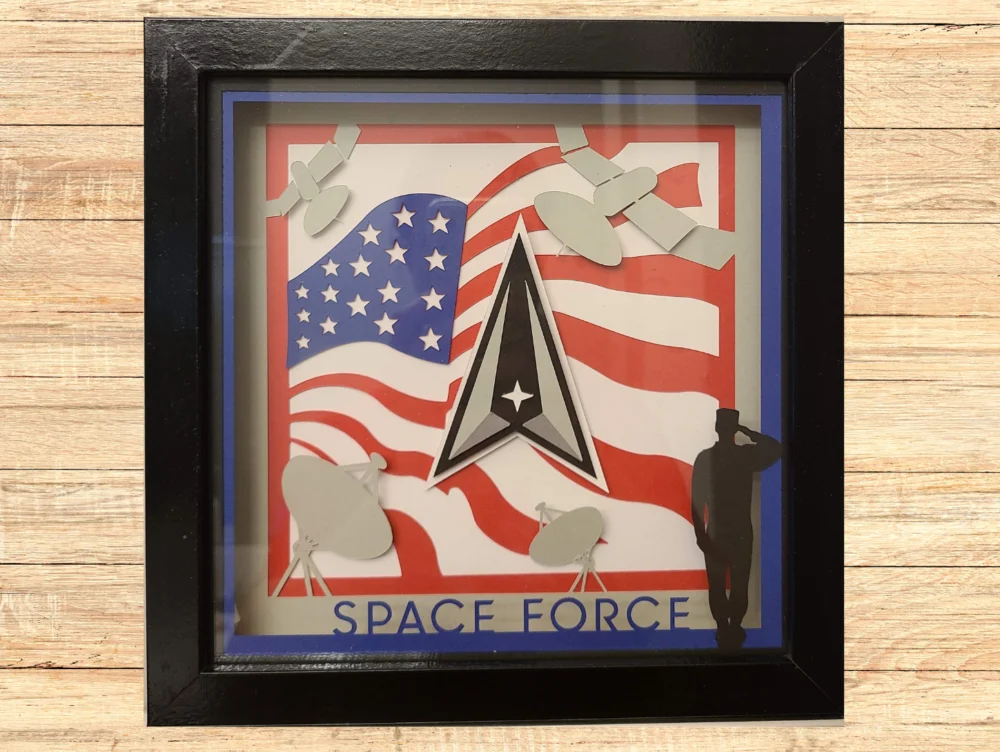
Space Force shadow box how to post
Female Space Force shadow box how to post
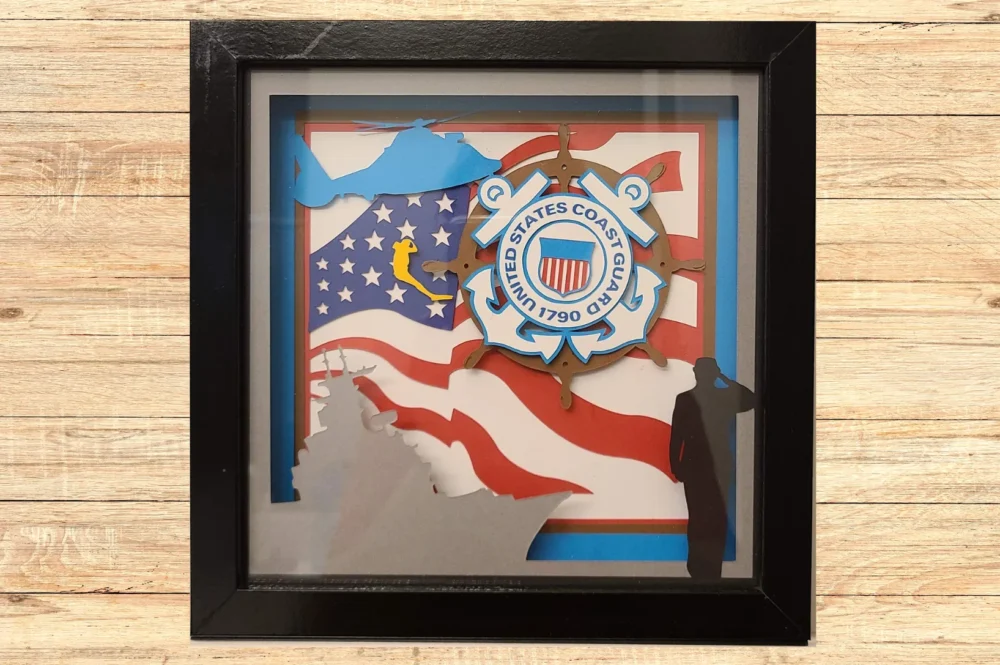
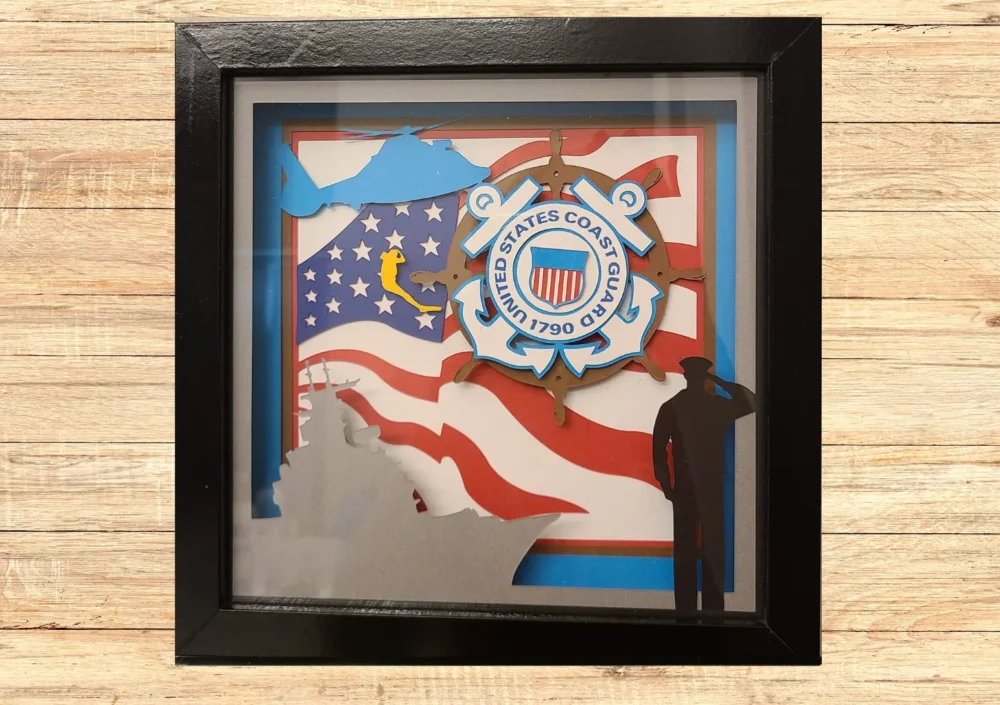
Coast Guard shadow box how to post
Female Coast Guard shadow box how to post
If you like all of these military shadow box designs, you can get them in a bundle at this link here. Military Shadow Box Bundle
Subscribe to Nerdy Moms United!
Get updates on the latest posts and more straight to your inbox!
I hope you enjoyed this craft tutorial on how to make a layered Air Force shadow box as much as I do! Please share this craft tutorial on social media because sharing is caring!
I make a commission from purchases made through links in my posts, at no extra cost to you. Read my disclosure for more information.
Looking for more craft project ideas?
-
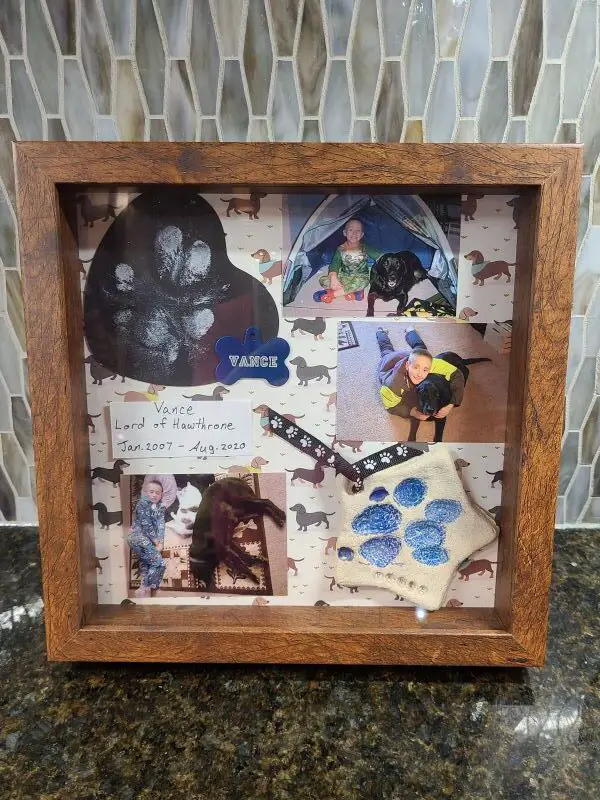
How To Make A Shadow Box Memorial Layout For Your Dog
I will show you how to make a shadow box memorial layout for your dog. This a beautiful way to remember your cherished dog with this shadow box memorial idea for your dog…
-
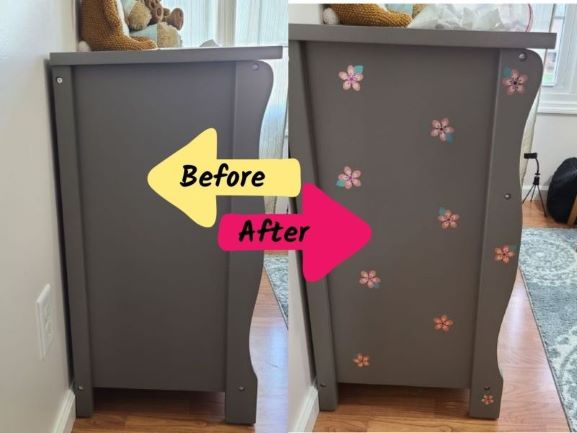
How To Use Cricut Adhesive Foil Vinyl On Wood Furniture – Tutorial
I will show you step by step how I decorated a painted wooden dresser with Cricut adhesive foil vinyl to create custom wood furniture. I decorated a painted wooden dresser with Cricut adhesive foil vinyl in my daughter’s nursery…
-

How To Seal Hand Painted Glassware – Illustrated Tutorial
This illustrated tutorial will show you how to seal your hand painted glassware at home the right way. Using acrylic paint to hand paint your own stemware?…
-

How To Make A Color Changing Mug Using Infusible Ink In The Oven – Tutorial & Video
How to make a color changing mug with Cricut Infusible Ink in the oven. Do you know you can use Cricut Infusible Inks on a mug without a mug press? …
-
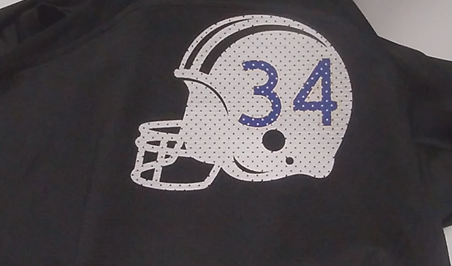
How To Make A Layered Iron-On Vinyl Shirt Using A EasyPress 2 – Tutorial & Video
This layered Cricut EasyPress 2 iron-on mesh vinyl project is perfect if your kids play football. I even created a short video and a Cricut design file so you can make this layered vinyl design for your child too! …
-

Easy Salt Dough Christmas Ornaments for Kids to Make as Gifts
These beautiful smelling salt dough Christmas ornaments are easy for kids to make as gifts. With this easy salt dough recipe, and several fun crafts ideas that kids can make…