I make a commission from purchases made through links in my posts, at no extra cost to you. Read my disclosure for more information.
This illustrated tutorial will show you how to seal your hand painted glassware at home the right way and help you avoid common mistakes. Whether you are using acrylic paint to hand paint your own stemware or you bought a beautiful set of hand painted glassware. You will want to seal that beautiful painted artwork on your glassware, so it doesn’t get damaged when you use them.
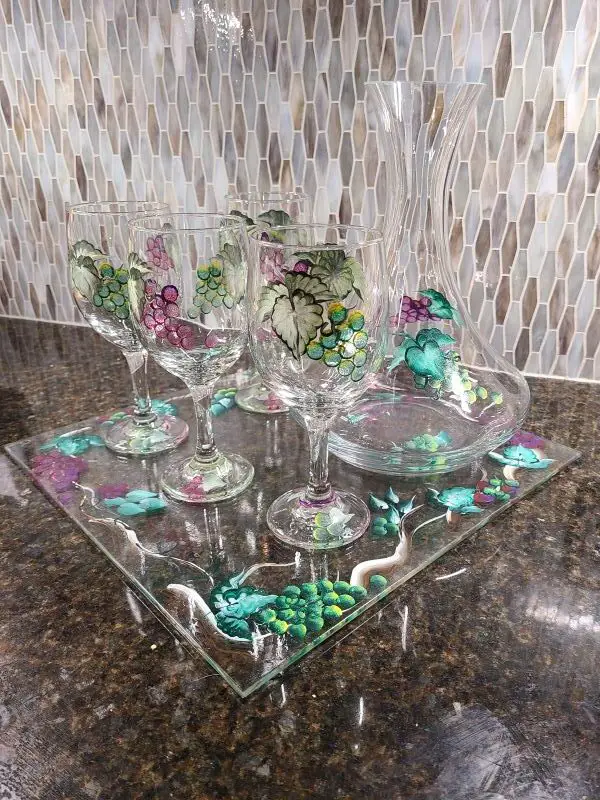
I bought this beautiful hand painted glassware set at an antic store. However, the paint is not sealed on the glassware and there was no way to verify if the paint is acrylic. This is what the antic glassware set looks like after I have sealed the paint.
How To Seal Hand Painted Glassware?
There are two ways to seal hand painted glassware. You can use an acrylic glass paint sealer like Mod Podge or cure your glassware in the oven. Only use the oven curing method if you hand painted the glassware yourself with acrylic paint or other glass paint that requires heat treating. Use the Mod Podge method if you didn’t paint the glassware yourself and you are not current that the glassware was sealed previously.
Can you Seal Hand Painted Glassware in the oven?
You can seal or cure the acrylic paint on your hand painted glassware in a hot oven. Place the stemware in a cold oven, turn your oven to 350 Degree F. You will heat treat your wine glass for 30 minutes. Allow the glass to cool down in the oven on its own. Only use the oven heat curing method if you hand painted the glassware yourself and the glass paint requires heat treating.
Safety Note: Never do this method with a preheated oven you will damage the glass! A drastic change in temperature can cause the glassware to shatter. Allow the glass to heat up and cool down in the oven on its own.
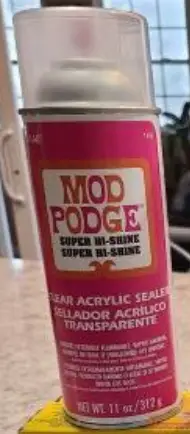
Can you use Mod Podge to seal acrylic paint on glassware?
You can use Mod Podge to seal the acrylic paint on any clean glass surface. When selecting the right Mod Podge for your project, you will want to use the Super Hi-Shines Clear Acrylic Sealer spray. This will allow you to use your glassware while protecting the hand painted design. It is most common to use acrylic paint on glassware. However, you can use other types of paint that are compatible with glass and then seal the glassware using the Mod Podge acrylic spray.

Subscribe to Nerdy Moms United!
Get updates on the latest posts and more straight to your inbox!
Can you brush on the Mod Podge instead of using the spray?
You can use the brush on Mod Podge if you desire but you will run the risk of having brush streaks on your glassware. Using the Mod Podge Super Hi-Shines Clear Acrylic Sealer spray is highly recommend. You will lightly spray it on your clean completed glassware project 10 to 12 inches away in a steady side-to-side motion.
How to protect hand painted glassware with an acrylic sealer?
Apply your Mod Podge acrylic sealer spray to your hand painted glassware, by lightly spray it on your glassware project 10 to 12 inches away in a steady side-to-side motion. You can add an additional layer of the acrylic sealer to your glassware in 10 minutes or when the first layer is completely dry.
To seal your hand painted glassware you will need these items:
Links to Amazon
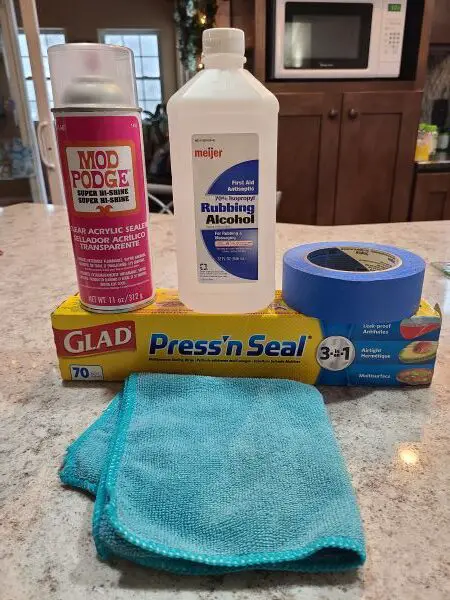
Start by washing your glassware by hand. Use a mild soap like Dawn, warm water, and a soft sponge or cloth. The goal is to remove any extra dirt from the glass.
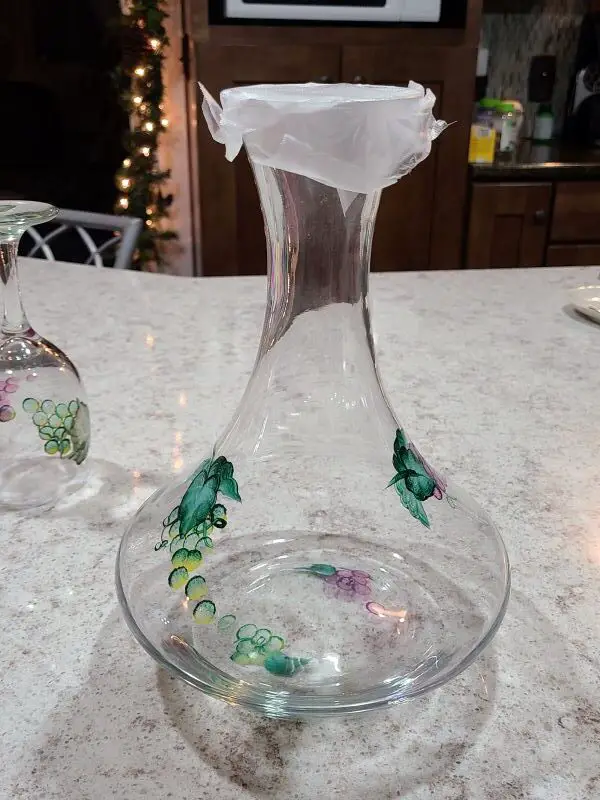
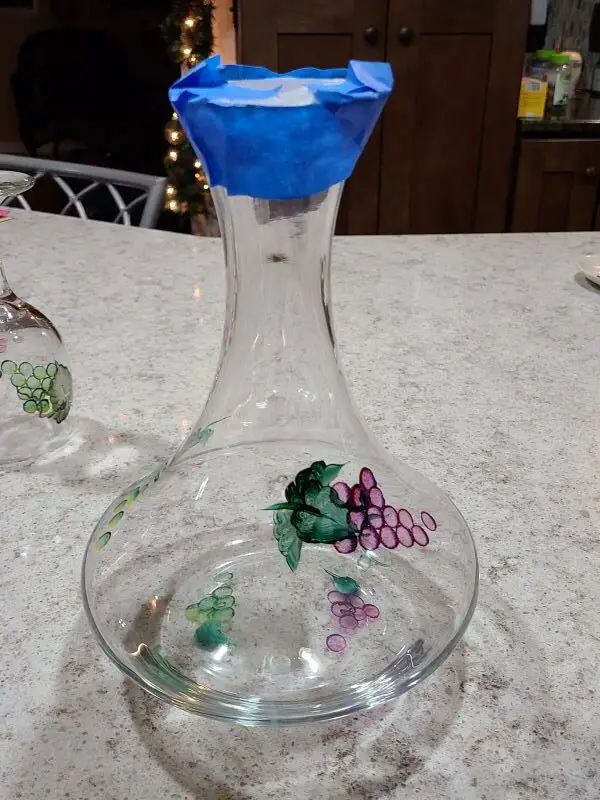
Use Glad Press and Seal and painter tape to protect the rim and inside of the glassware. You want to avoid getting the acrylic sealer in those areas of the glassware since that where your drink and mouth will be. Repeat this process with each piece of the glass stemware.
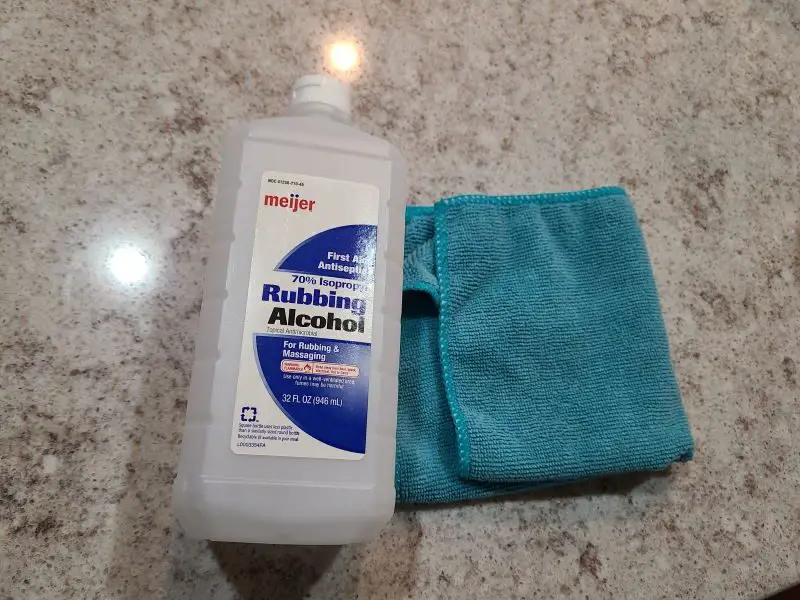
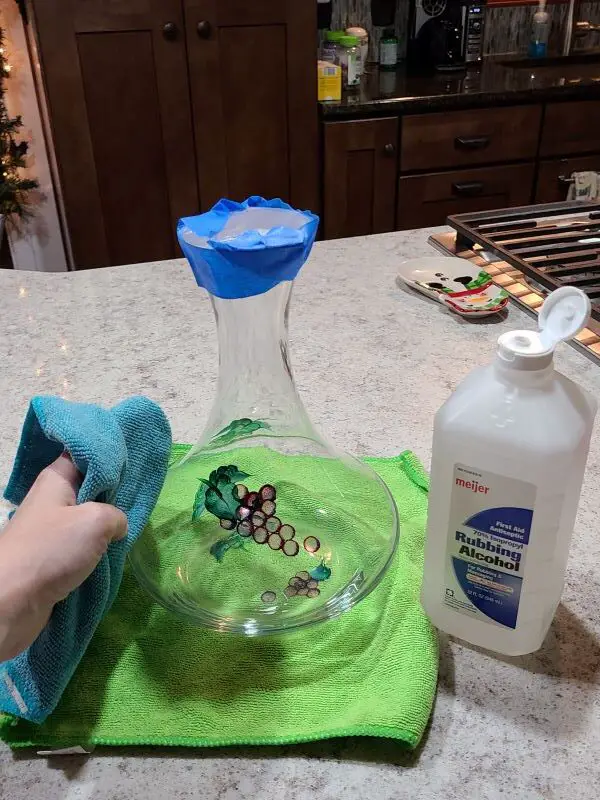
You will want to remove any remaining fingerprints and oils from the glass surface; which could affect how the clear acrylic sealer is applied to your glassware. Use a microfiber cloth to apply the rubbing alcohol to the glass surface. This will help you to remove the extra fingerprints and oil from your glassware. During this process, only touch the glass with a clean microfiber cloth or rubber gloves, to keep the glass surface clean. Allow the glass to air dry, it only should take a few minutes.
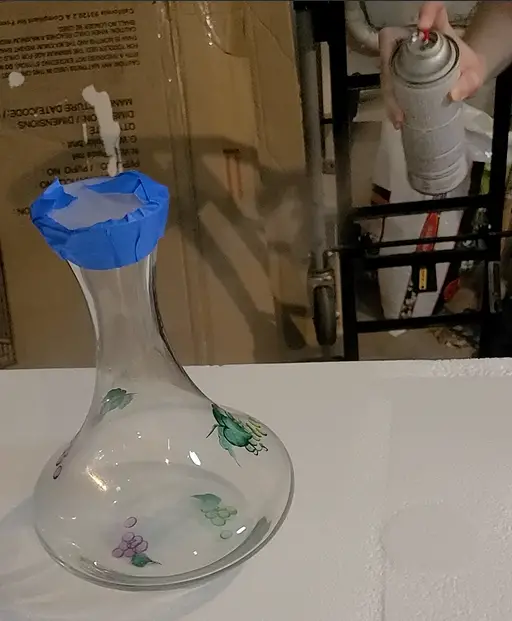
Take your clean glassware to a well ventilated space with a temperature at least above 70 degrees F; before applying the Mod Podge clear acrylic sealer spray. Remember to only touch the glass with a clean microfiber cloth or rubber gloves, to keep the glass surface clean. You will want to shake the can and lightly spray the clear acrylic sealer on your clean glassware 10 to 12 inches away in a steady side-to-side motion.
Don’t overspray the acrylic sealer on your glassware or you will get drips and run off on your glass. Do not touch the glass until the clear acrylic sealer is finish drying, or you will leave fingerprints. Drying can take up to 10 to 15 minutes, depending on the temperature and humidity of your prep area.
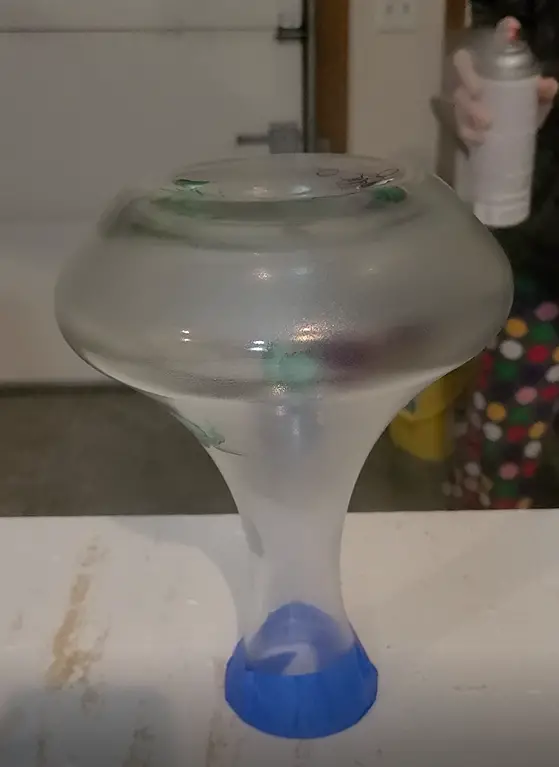
Helpful Hack: You can touch your glassware when the painter tape is located on your glass to avoid leaving fingerprints. This helps when you need to move your wet glassware to a new location for drying. Apply additional coats of the Mod Podge clear acrylic sealer if desired, after first coat is completely dries.
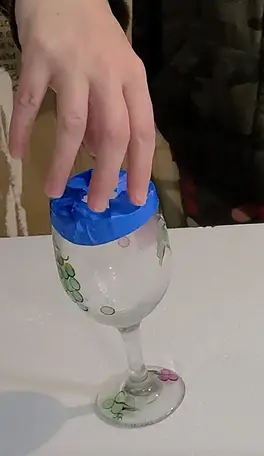
Once all the coats of the Mod Podge clear acrylic sealer are completely dry. Place the glassware in a room temperature place to allow the sealer to finish curing. You will have to wait 24 hours before touching the glass surface.
How to remove excess acrylic sealer from a glass surface?
To remove excess acrylic sealer from your glassware you will need to rub nail polish remover on the glass surface. Be careful not to remove the acrylic sealer from the hand painted areas of the glass, since that is where you want to keep the acrylic sealer.
To remove excess acrylic sealer from the glassware you will need these items:
Links to Amazon
Use painters tape to protect the painted areas where you want to keep the acrylic sealer.
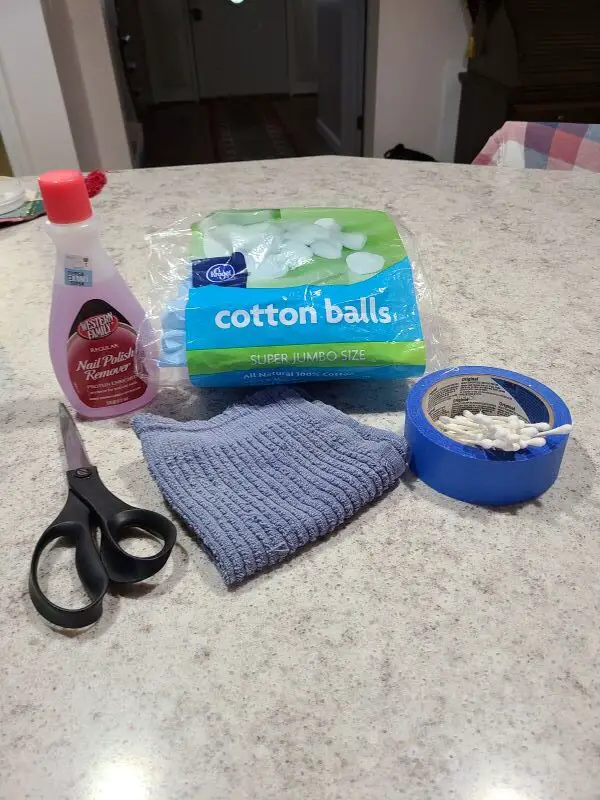
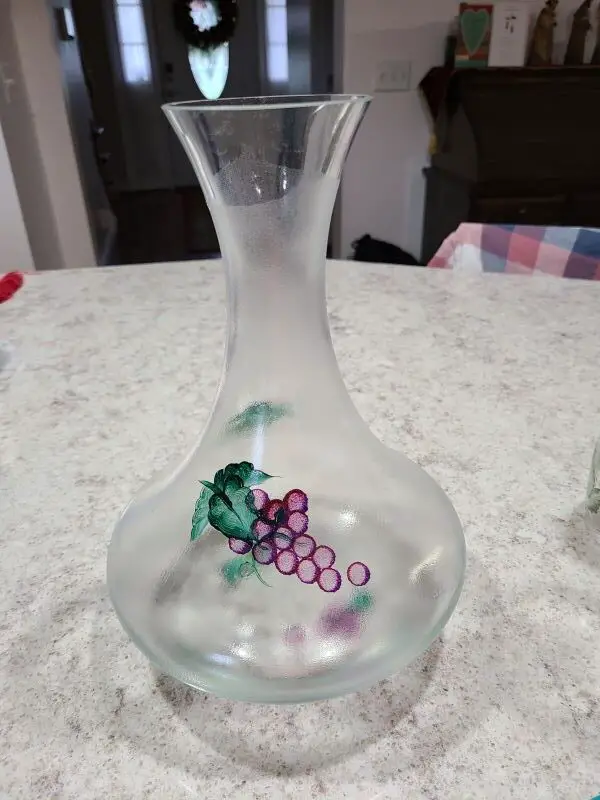
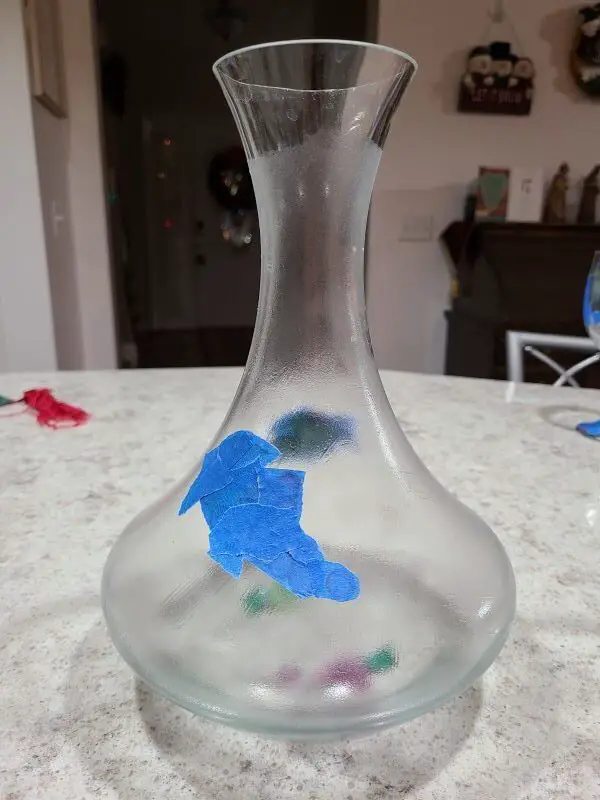
Use a cotton ball to remove the acrylic sealer from bigger areas on the glass. Q-Tips can be used to remove the acrylic sealer from smaller areas closer to the painters tape. The rag will help soak up any extra nail polish remover that drips off the glass.
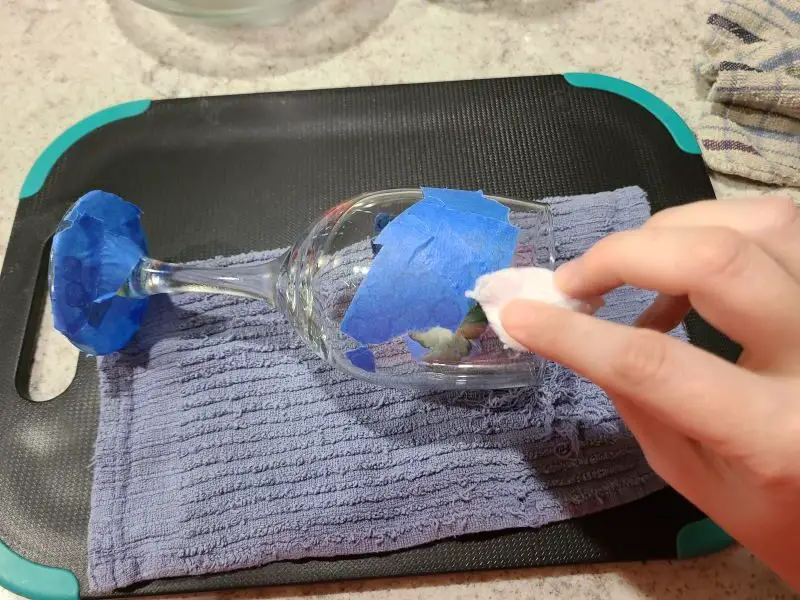
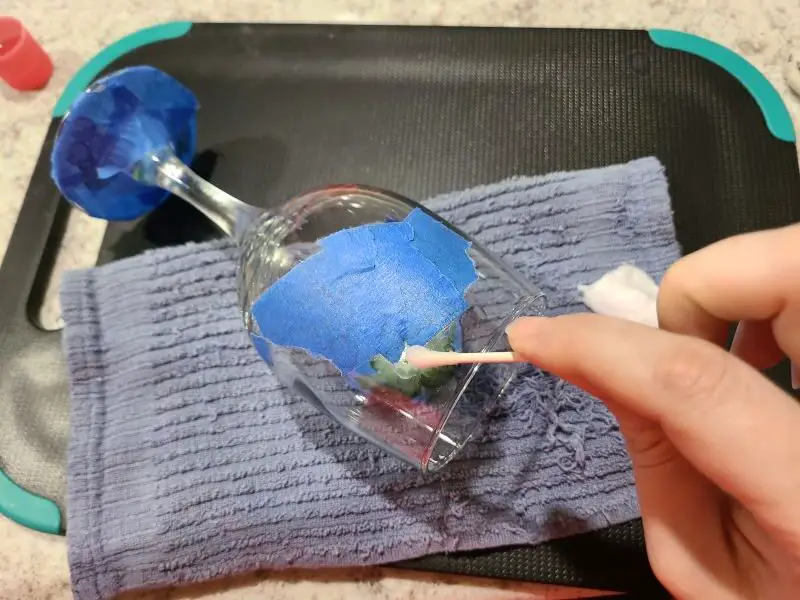
Here is what the glassware look like from start to finish during the cleaning process to remove the extra acrylic sealer.
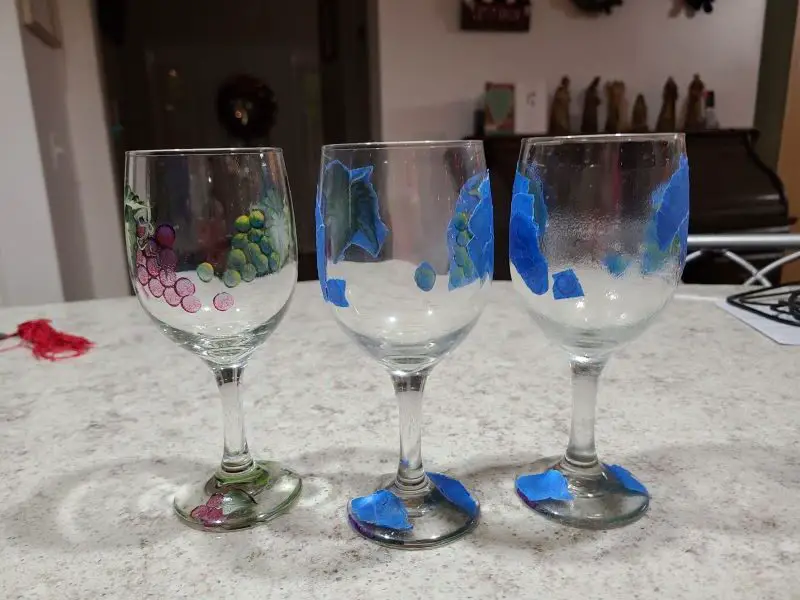
Right glass: Painters tape applied to the hand painted areas of the glassware.
Center glass: Excess clear acrylic sealer removed from the glassware.
Left glass: Finished glassware with painters tape removed, hand washed with Dawn and warm water.
Here is what the antic glassware set look like before and after using the Mod Podge clear acrylic sealer.
Left image: Before cleaning and applying the clear acrylic sealer.
Right image: After cleaning and applying the clear acrylic sealer.
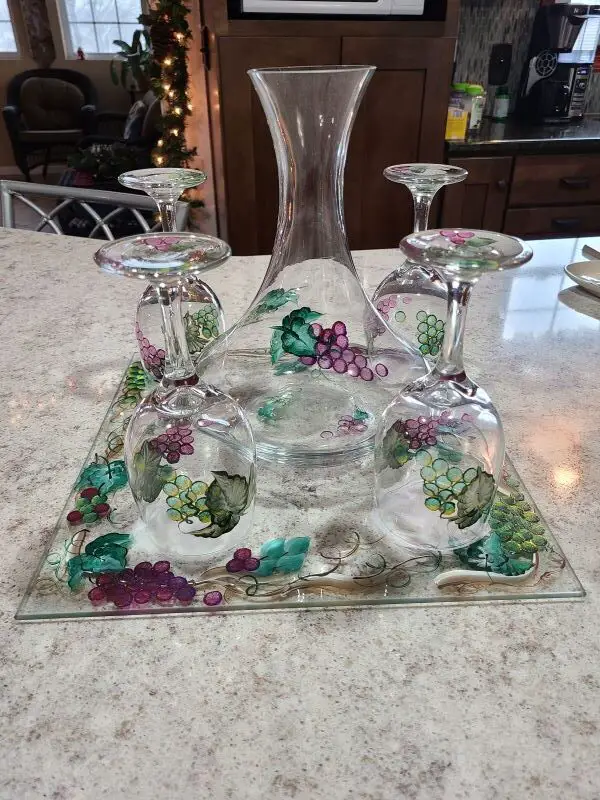

This project required a couple of days to complete. The Mod Podge clear acrylic sealer needed 24 hours to cure before I could start the cleaning process. Removing the extra acrylic sealer from the glass took me two days to finish. So in all, this project took me four days to complete. Depending on the size of your project, the time you will require will vary.
Helpful Tip: You can also tape off the areas on the glass where you don’t want the Mod Podge clear acrylic sealer spray to be applied. This well help reduce clean up time when you remove the extra acrylic sealer from the glass.

Subscribe to Nerdy Moms United!
Get updates on the latest posts and more straight to your inbox!
I hope you enjoy this craft tutorial on how to seal hand painted glassware at home! Please share this illustrated tutorial on social media because sharing is caring!

I make a commission from purchases made through links in my posts, at no extra cost to you. Read my disclosure for more information.
Looking for more craft project ideas?
-
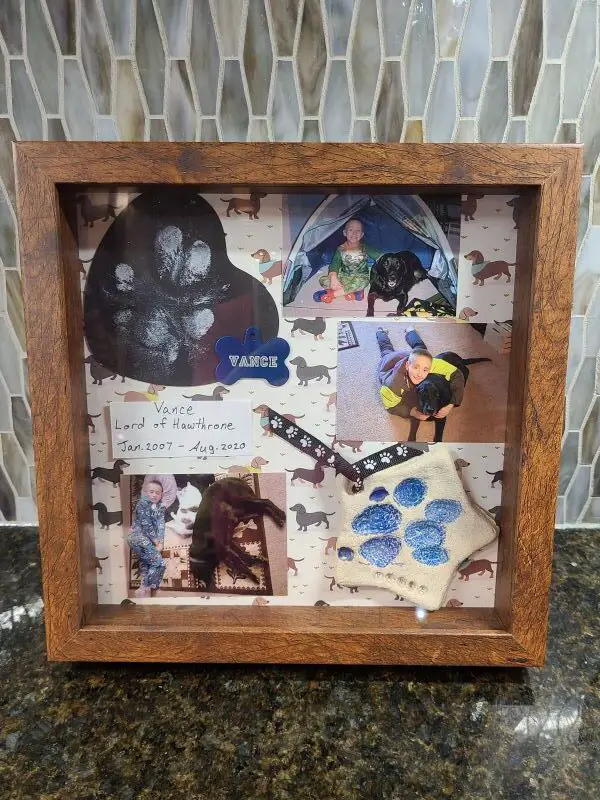
How To Make A Shadow Box Memorial Layout For Your Dog
I will show you how to make a shadow box memorial layout for your dog. This a beautiful way to remember your cherished dog with this shadow box memorial idea for your dog…
-
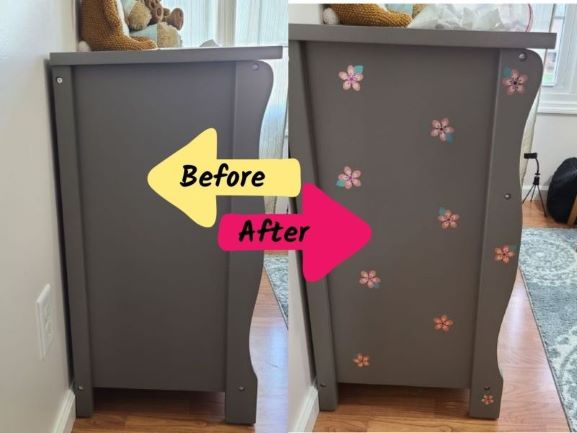
How To Use Cricut Adhesive Foil Vinyl On Wood Furniture – Tutorial
I will show you step by step how I decorated a painted wooden dresser with Cricut adhesive foil vinyl to create custom wood furniture. I decorated a painted wooden dresser with Cricut adhesive foil vinyl in my daughter’s nursery…
-
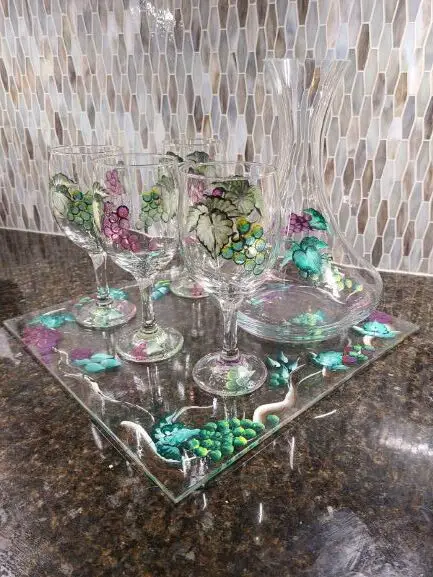
How To Seal Hand Painted Glassware – Illustrated Tutorial
This illustrated tutorial will show you how to seal your hand painted glassware at home the right way. Using acrylic paint to hand paint your own stemware?…
-

How To Make A Color Changing Mug Using Infusible Ink In The Oven – Tutorial & Video
How to make a color changing mug with Cricut Infusible Ink in the oven. Do you know you can use Cricut Infusible Inks on a mug without a mug press? …
-
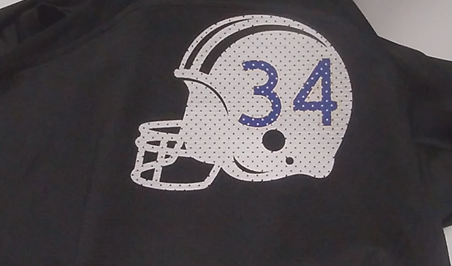
How To Make A Layered Iron-On Vinyl Shirt Using A EasyPress 2 – Tutorial & Video
This layered Cricut EasyPress 2 iron-on mesh vinyl project is perfect if your kids play football. I even created a short video and a Cricut design file so you can make this layered vinyl design for your child too! …
-
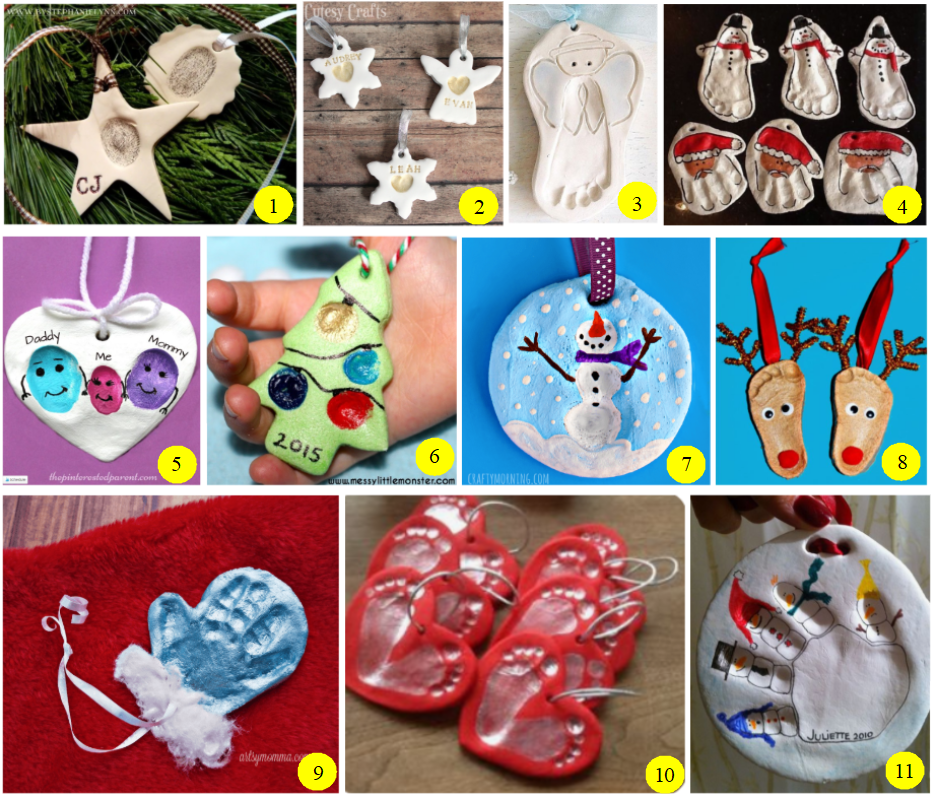
Easy Salt Dough Christmas Ornaments for Kids to Make as Gifts
These beautiful smelling salt dough Christmas ornaments are easy for kids to make as gifts. With this easy salt dough recipe, and several fun crafts ideas that kids can make…