I will show you how to make a salt dough pet paw print of your cat or dog. These beautiful smelling salt dough Christmas ornaments are easy to make as gifts of your furry best friend. With this easy salt dough recipe, you can make a wonderful DIY keepsake ornament that the family will cherish for years.
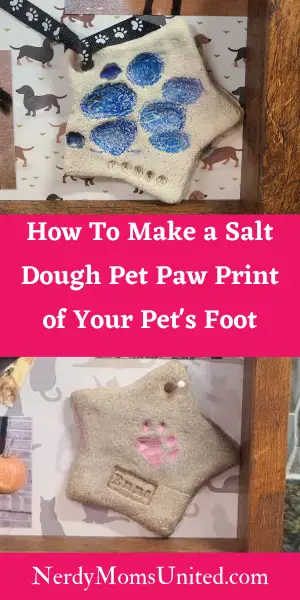
This salt dough recipe makes about 15 to 20 ornaments depending on the size of your cookie cutters. The amazing smell comes from the ground spices and essential oils.
Easy Salt Dough Recipe
Links to Amazon
- 2 cups Flour
- 1/2 cup Salt
- 3/4 cup Lukewarm water
- 2 Tsp. Ground Nutmeg
- 2 Tsp. Ground Cinnamon
- 2 Tsp. Ground Clove
- 2 Tsp. Ground Ginger
Salt Dough Tips and Hacks:
- The dough should feel smooth and consistent. If the dough feels too sticky, add more flour. If it’s too dry, you can gradually add more water.
- You can add a Kool Aid packet to the dry mix or food coloring to the water to dye the dough so you don’t have to paint the ornaments later.
- You can store the dough in the refrigerator for 1-2 days. Wrap the dough in plastic wrap and place in a zip lock or airtight container.
- Use wax paper or baking paper on your cookie sheets. It will make it easier to remove the salt dough ornaments from the cookie sheet after baking.
- Roll the dough between two pieces of wax paper for easier clean up.
- For easier clean up when decorating with paint or glitter, cover a cookie sheet with foil. It will make the perfect work area to contain the glitter and paint spills.
- For glitter ornaments, add the glitter while the paint is wet or use Mod Podge before and after applying the glitter. This will help keep the glitter from falling off.
- You can air dry your salt dough ornaments. For the air-dry method, make sure your ornaments are very thin. It can take up to 4 to 7 days for the ornaments to dry completely.

Subscribe to Nerdy Moms United!
Get updates on the latest posts and more straight to your inbox!
Suggested Tools for Salt Dough Ornaments:
Cookie Cutters
Colored Ribbon
Alphabet Stamps
Wax Paper or Baking Paper
Foil
Rolling Pin
Drink Straws
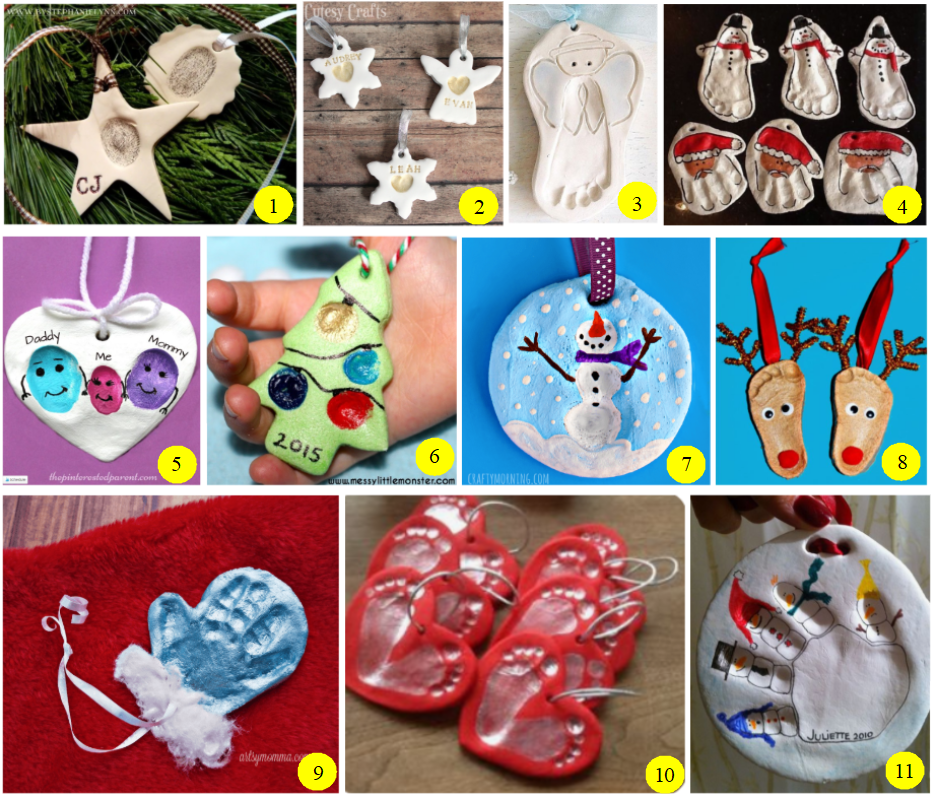
Dark Crayon (For coloring in fingerprints, see design examples 1 and 2 in the picture tiles.)
Acrylic or Finger Paints
Paintbrushes
Glitter
Mod Podge
Pom-poms, Googly Eyes, & Pipe Cleaners
Cookie sheet
Markers
Salt Dough Instructions:
- Mix the spices, salt, and flour in a large bowl. (optional: add Kool Aid mix coloring)
- Slow add the water and essential oils to the dry mix. (optional: food coloring in water)
- Mix the dough well with your hands until it feels like play dough.
- Roll the dough out into a thin layer on to a paper plate about 1/4 inch thick, using a rolling pin.
- Take the paper plate to your pet to make couple paw impressions. (Do this step when you pet is relaxed, it will make the process easier.)
- Select the paw print that looks the best, use a cookie cutter to cut the shapes around the paw print in the salt dough.
- Careful remove the extra salt dough from the cookie cutter shape.
Optional idea: You can also use alphabet stamps to put your pet’s initials or name in the soft salt dough. - Use a drink straws to make a small hole at the top of each ornament before drying.
- Finish decorating the ornament once the salt dough has completely dried for a few day.
Note: For the air-dry method, make sure your ornaments are very thin. It can take up to 4 to 7 days for the ornaments to dry completely. - Finish decorating your dried ornaments with paint, glitter, pom-poms, ribbon, fabric or anything else you might enjoy.
- When the paint has dried, you can attach a ribbon to the hole. Enjoy hanging your ornaments on your Christmas tree or give them away as gifts to friends and family that are fellow pet lovers.
Salt Dough Christmas Ornament Ideas For Your Pets
You can also display your four-legged kid’s paw print in a shadow box frame too. Here are some examples I used for my own pets. I used a cookie cutter for the shape and a small alphabet stamp set to put their names with their paw print.
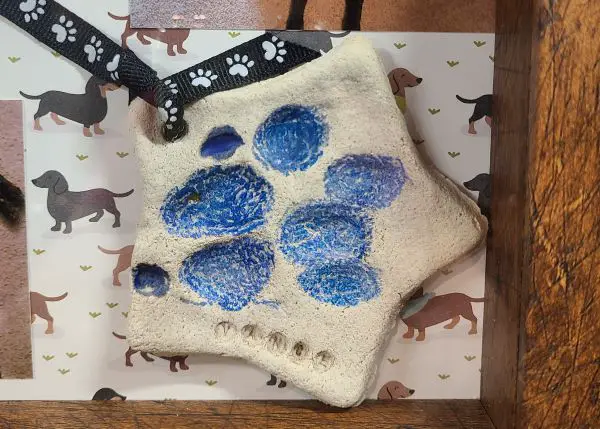
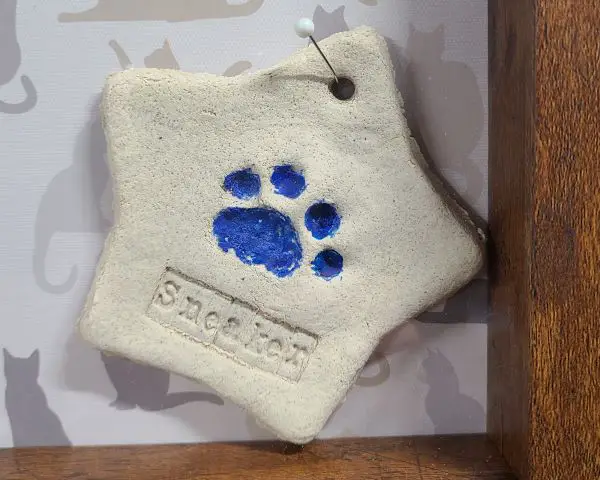
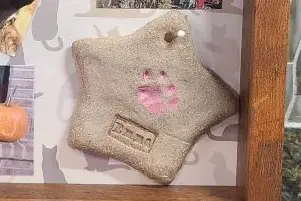
I used this salt dough craft project for my pet shadow boxes. So you are not limited to just making Christmas ornaments. This is a great idea to have a way to remember a pet before they pass.
Before we had to put our very sick dog down. I did a salt dough mold of his paw print. The cats on the other hand were not so excited about me doing their paw prints that same day.
I colored in the paw prints with a crayon. I did try melting the crayon wax in the paw print but the wax will leave a stain on the dry salt dough, as it soaks into it. You can see an example of that on the dog’s paw print where his toenail was.
Using a crayon to color your dry salt dough Christmas ornament works fine. However, melting the crayon into your salt dough Christmas ornament design is not such a good idea. I thought I would share this learning experience with you.
How to protect and preserve your salt dough Christmas ornament questions
How do you seal your salt dough Christmas ornaments?
Mod Podge is the best way to seal your salt dough Christmas ornaments. Apply 1 to 2 coats of Mod Podge and wait 24 hours for it to set completely. Mod Podge comes in glossy, sparkle, glitter, or matte finishes to help you add the final touch to your ornaments. The two-coat technique with the Mod Podge is really useful when using glitter on your ornaments.
How do you make salt dough Christmas ornaments shiny?
There are two ways to make your Christmas ornaments shiny with and without glitter.
Shiny ornaments without glitter:
You can use polyurethane spray which can also be used to seal your ornaments. You can also use the Mod Podge Clear Acrylic Sealer.
Shiny ornaments with glitter:
For your glitter ornaments, I would suggest using 1-2 coats of Mod Podge Gloss Finish.
Can Kosher salt be used to make salt dough Christmas ornaments?
Kosher salt can be used to make this salt dough Christmas ornament recipe. However, I have noticed that the flour and Kosher salt will not make a smooth dough. This will leave you with a rougher dough texture. I would highly suggest sticking with table salt for better results with your dough.
If Kosher salt is all you have, then you can use the salt dough hack to make the dough texture softer. You can also put the Kosher salt in a blender, food processor, or clean coffee grinder to make the salt finer. This will help reduce the rough grainy texture of the larger Kosher salt crystals.
How long does a salt dough Christmas ornament last?
Your homemade salt dough Christmas ornaments can last for decades. Salt is a preserving agent, this will make sure that your ornaments will not get moldy.
How to store salt dough Christmas ornaments?
You should store your beautiful keepsake Christmas ornaments in a plastic bin with bubble wrap, shredded paper, or other soft materials. Wrap them carefully the same way you would a precious delicate glass ornament. Place the container in a storage location where it will be safe from getting smashed or destroyed.
I like to put my ornaments in a specially designed box that has small compartments to keep the ornaments from rubbing against each other. The bin should be kept in a cool, dry place, and your ornaments can last for many years to come.
Note: Storing your salt dough Christmas ornaments in a damp or high humidity location will cause the ornaments to become soft again. I found this out the hard way when some of my salt dough Christmas ornaments had to soften back up. I wanted to make sure I shared this little tip with you, especially if you live in a humid area.

Subscribe to Nerdy Moms United!
Get updates on the latest posts and more straight to your inbox!
If you like this crafty ideas, check some of my other crafts!
How to use a Cricut EasyPress 2 to make a signal layer vinyl t-shirt
How to use a Cricut EasyPress 2 to make a layered vinyl t-shirt
How To Design A Color Changing Mug Using Cricut Infusible Inks
10 Cricut Infusible Ink Hacks
Cricut Pen Adaptor Hack
I hope you enjoyed making these easy salt dough Christmas ornaments with your pets. If you like this post please share it with others. Sharing is caring!
I make a commission from purchases made through links in my posts, at no extra cost to you. Read my disclosure for more information.
Looking for more craft project ideas?
-
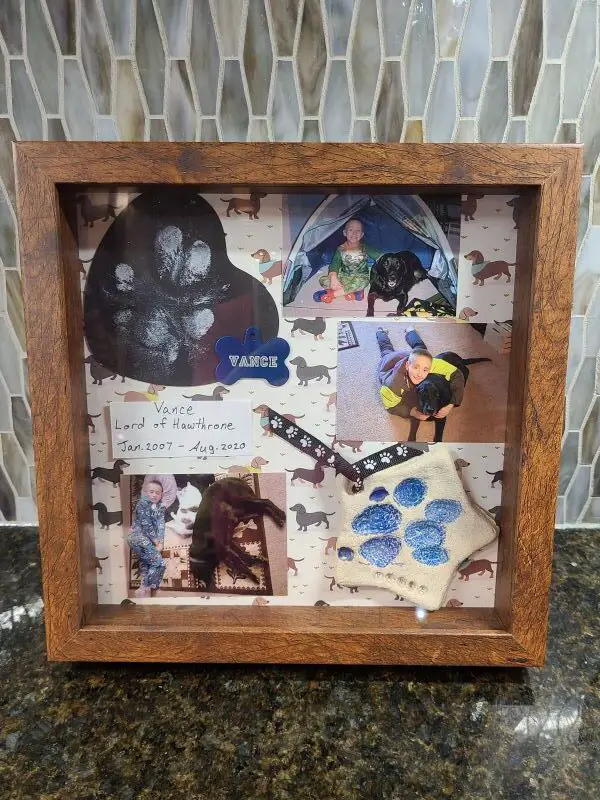
How To Make A Shadow Box Memorial Layout For Your Dog
I will show you how to make a shadow box memorial layout for your dog. This a beautiful way to remember your cherished dog with this shadow box memorial idea for your dog…
-
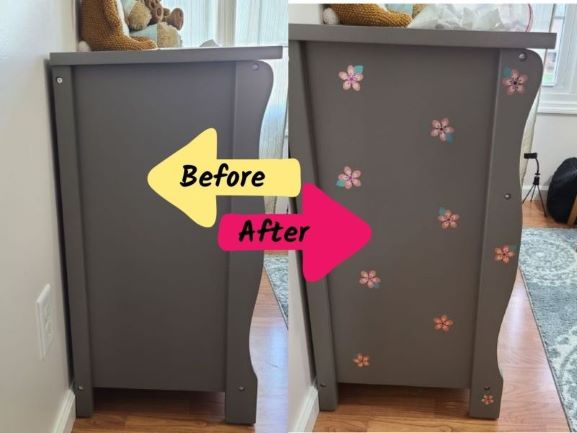
How To Use Cricut Adhesive Foil Vinyl On Wood Furniture – Tutorial
I will show you step by step how I decorated a painted wooden dresser with Cricut adhesive foil vinyl to create custom wood furniture. I decorated a painted wooden dresser with Cricut adhesive foil vinyl in my daughter’s nursery…
-
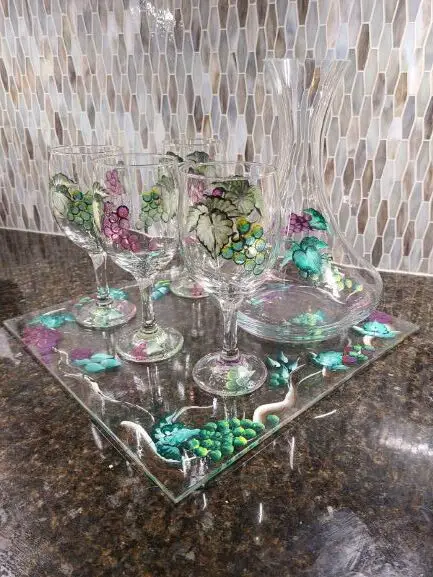
How To Seal Hand Painted Glassware – Illustrated Tutorial
This illustrated tutorial will show you how to seal your hand painted glassware at home the right way. Using acrylic paint to hand paint your own stemware?…
-

How To Make A Color Changing Mug Using Infusible Ink In The Oven – Tutorial & Video
How to make a color changing mug with Cricut Infusible Ink in the oven. Do you know you can use Cricut Infusible Inks on a mug without a mug press? …
-
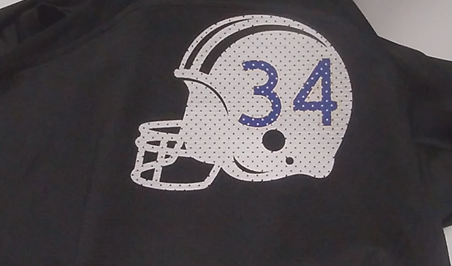
How To Make A Layered Iron-On Vinyl Shirt Using A EasyPress 2 – Tutorial & Video
This layered Cricut EasyPress 2 iron-on mesh vinyl project is perfect if your kids play football. I even created a short video and a Cricut design file so you can make this layered vinyl design for your child too! …
-
Easy Salt Dough Christmas Ornaments for Kids to Make as Gifts
These beautiful smelling salt dough Christmas ornaments are easy for kids to make as gifts. With this easy salt dough recipe, and several fun crafts ideas that kids can make…
