I make a commission from purchases made through links in my posts, at no extra cost to you. Read my disclosure for more information.
Found this great microwave bowl hot pads idea on Pinterest and I had to try it out! My Family enjoys using them and my son finds it is much easier to remove a hot bowl from the microwave. If and when the hot pads get food on them you can throw them in the wash.
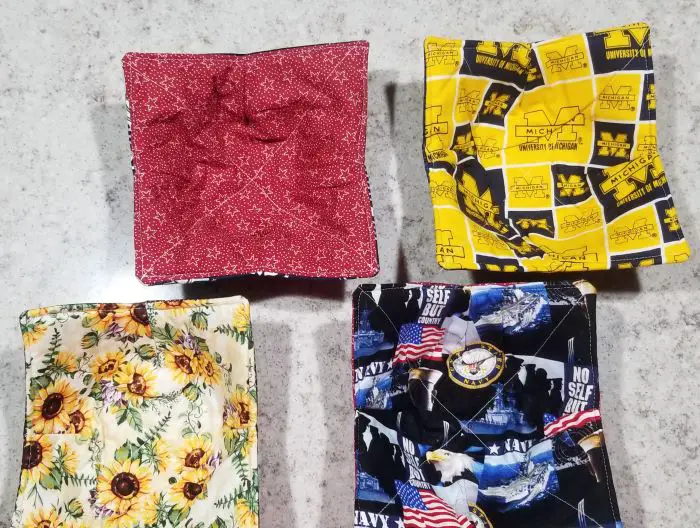
Important Note: Only use 100% cotton fabric, thread, and batting for this project! Other fabrics or fabric blends for example polyester will melt in the microwave. Not to mention the smell it will leave behind is not a good thing, so be sure to use cotton for the whole project.
How to Make Microwave Bowl Hot Pads
You will need:
- Sewing machine (I use a Singer sewing machine)
- 2 – 10″ pieces coordinating cotton fabric
- 2 – 10″ pieces cotton batting (Such as Warm n’ Natural)
- Coordinating cotton thread
- Scissors
- Fabric pen (A washable pen works great too. )
- 10″ Square sewing template (you can use cardboard for your template)
- Optional: Sewing Pattern for this project
Instructions:
1) Put your 10″ square template on your cotton fabric. Using your fabric pen, trace around the square template. Repeat this process on the other piece of fabric and cotton batting.
2) Cut the 10″ square piece out of two pieces of fabrics and 2 – 10″ pieces of batting.
Note: Thin batting is preferable since the finished product will have two layers.
3) Layer each piece of the fabric with a piece of the batting and quilt the two layers together.
I used a stippling stitch, but you can also do a zig-zag stitch from corner to corner. There just needs to be some quilting to stabilize the batting and keep it from bunching later.
4) Using your fabric pen, mark a line down the center of the square in each direction, dividing the square into quarters.
5) With a fabric pen, make a circle in the center for the bottom of the bowl. You can use a wide-mouth jar lid or a bowl as a pattern.
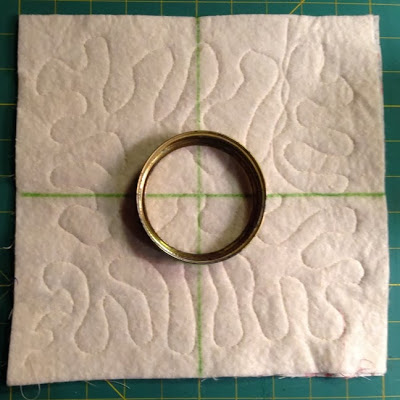
6) Then mark the darts by placing a dot 1″ on either side of each of the center lines; make a line connecting the dot to the edge of the center circle. These angled lines will be your sewing lines.
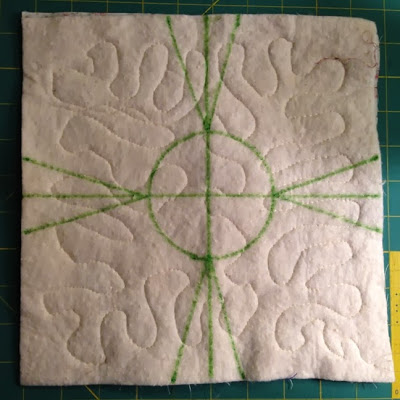
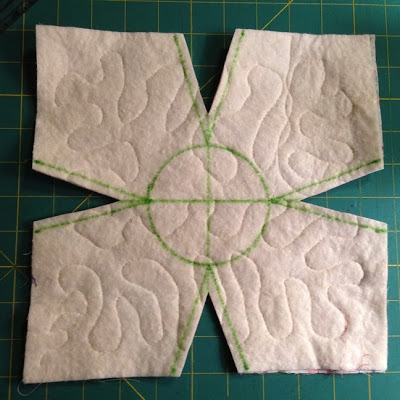
SHORTCUT: Rather than marking each square, use your first square as a pattern for the others. Cut out the dart, leaving 1/4 inch seam allowance. Then laid the “pattern” on top of the next square and marked the darts. Since I traced the opening, I cut out the darts on the lines.
7) Sew the darts using 1/4 inch seam allowance by folding each “V” in half. (The “pattern” will have the sewing lines marked on it to give you an idea of where to sew.)
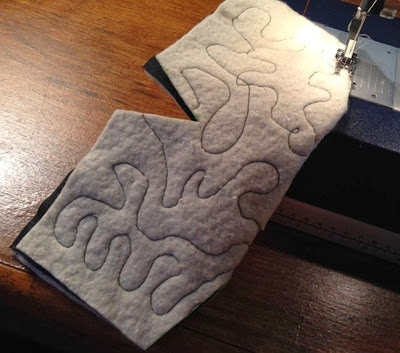
8) After all four darts are sewn on each piece you will have two bowl-shaped pieces. Place the two bowl pieces printed sides together and pin, matching the darts and corners.
9) Using 1/4 inch seam, sew around the edge of the bowl, starting and stopping about 1″ from the first and last corners. Don’t forget to trim the corners, being careful not to clip the stitching.
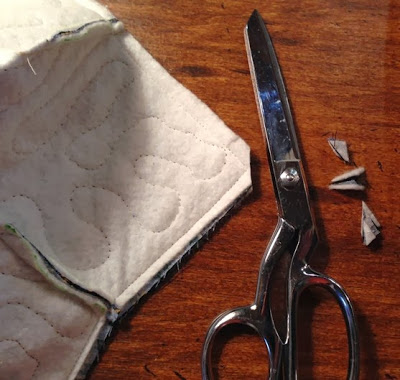
10) With the 1″ opening you can turn the bowl potholder printed-side out.
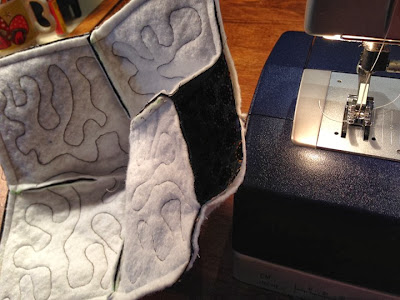
11) Stitch around the edge of the hot pads, folding in the raw edges of the opening and sewing that side first. Now you have finished your microwave bowl hot pads – and it’s reversible too!
You can also get this microwave bowl hot pad on Amazon here!
If you like this crafty ideas, check some of my other crafts!
How to use a Cricut EasyPress 2 to make a signal layer vinyl t-shirt
How to use a Cricut EasyPress 2 to make a layered vinyl t-shirt
How To Design A Color Changing Mug Using Cricut Infusible Inks
10 Cricut Infusible Ink Hacks
Cricut Pen Adaptor Hack

Subscribe to Nerdy Moms United!
Get updates on the latest posts and more straight to your inbox!
I hope you enjoyed making these Microwave Bowl Hot Pads. If you like this post please share it with others. Sharing is caring!
I make a commission from purchases made through links in my posts, at no extra cost to you. Read my disclosure for more information.
Looking for more craft project ideas?
-
How To Make A Shadow Box Memorial Layout For Your Dog
I will show you how to make a shadow box memorial layout for your dog. This a beautiful way to remember your cherished dog with this shadow box memorial idea for your dog…
-
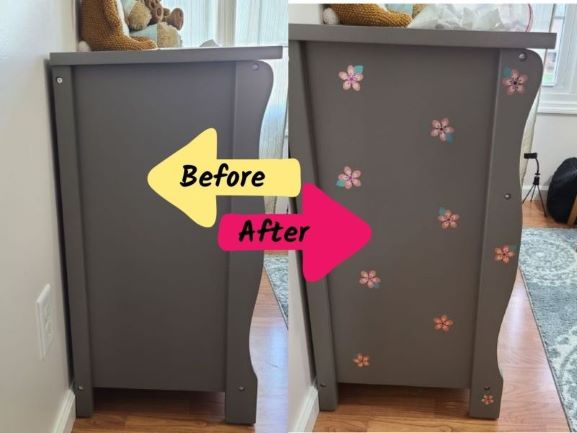
How To Use Cricut Adhesive Foil Vinyl On Wood Furniture – Tutorial
I will show you step by step how I decorated a painted wooden dresser with Cricut adhesive foil vinyl to create custom wood furniture. I decorated a painted wooden dresser with Cricut adhesive foil vinyl in my daughter’s nursery…
-
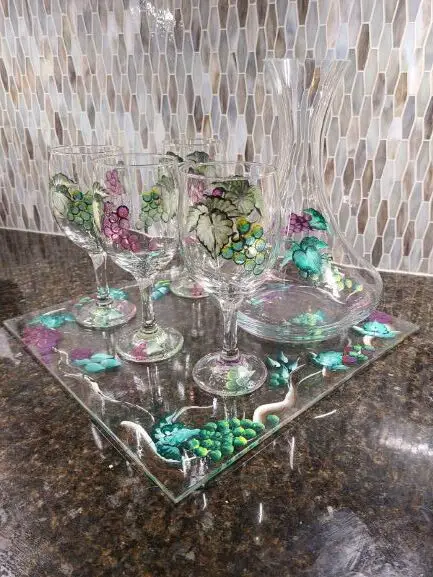
How To Seal Hand Painted Glassware – Illustrated Tutorial
This illustrated tutorial will show you how to seal your hand painted glassware at home the right way. Using acrylic paint to hand paint your own stemware?…
-
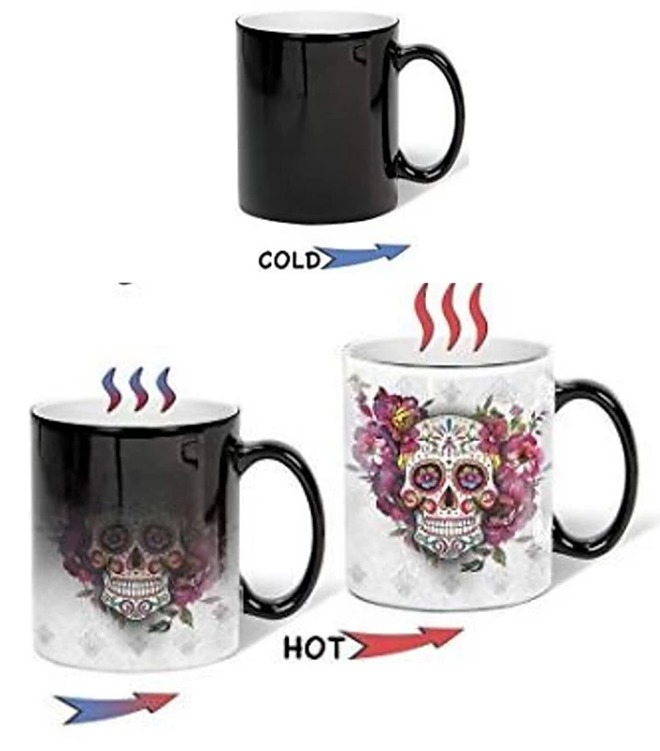
How To Make A Color Changing Mug Using Infusible Ink In The Oven – Tutorial & Video
How to make a color changing mug with Cricut Infusible Ink in the oven. Do you know you can use Cricut Infusible Inks on a mug without a mug press? …
-
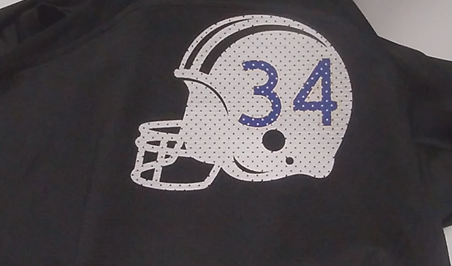
How To Make A Layered Iron-On Vinyl Shirt Using A EasyPress 2 – Tutorial & Video
This layered Cricut EasyPress 2 iron-on mesh vinyl project is perfect if your kids play football. I even created a short video and a Cricut design file so you can make this layered vinyl design for your child too! …
-
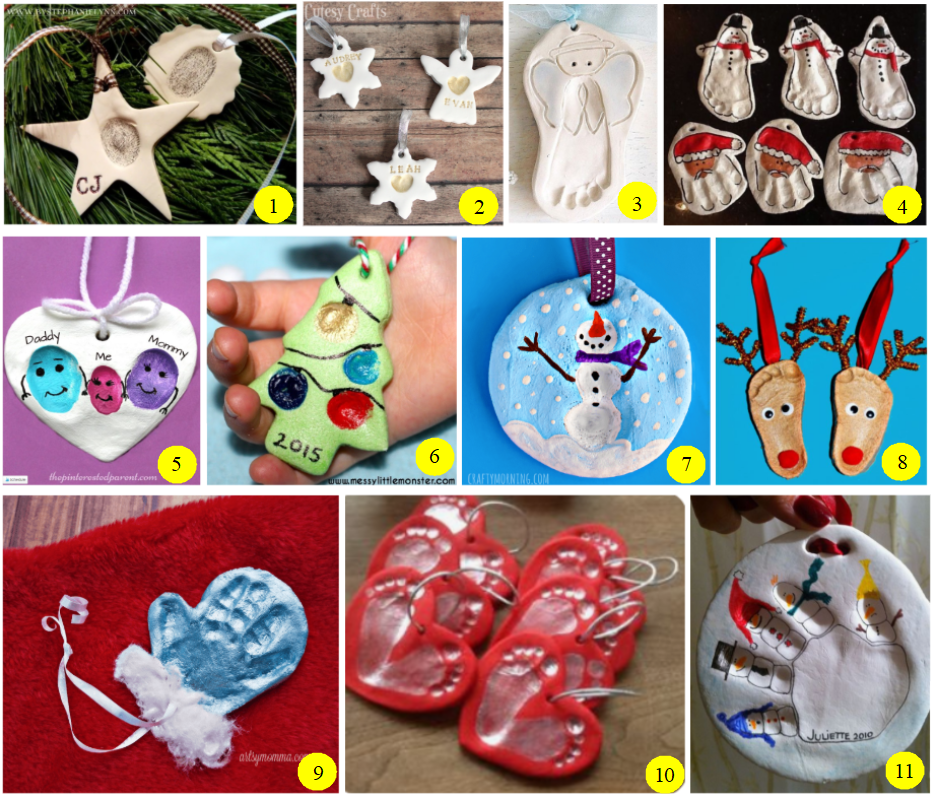
Easy Salt Dough Christmas Ornaments for Kids to Make as Gifts
These beautiful smelling salt dough Christmas ornaments are easy for kids to make as gifts. With this easy salt dough recipe, and several fun crafts ideas that kids can make…
Wow, this project is a lot easier to do then I thought!
I hope you enjoy it!